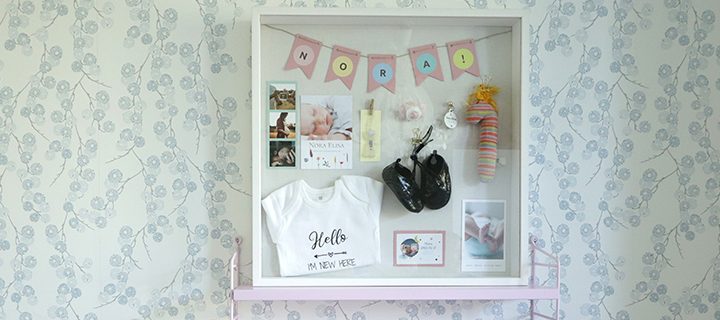
Baby shadow boxes and memory boxes have become really popular, and we understand why! So, here’s a fun and easy way to create your own shadow box with the help of Smartphoto’s #smartphotodiy. Instead of putting all the beautiful memories of your child’s arrival and first year of life away in a drawer, you can enjoy them as beautiful wall art! Watch our DIY video below to get inspired! You can also read our simple step-by-step guide on how to create your own baby shadow box.
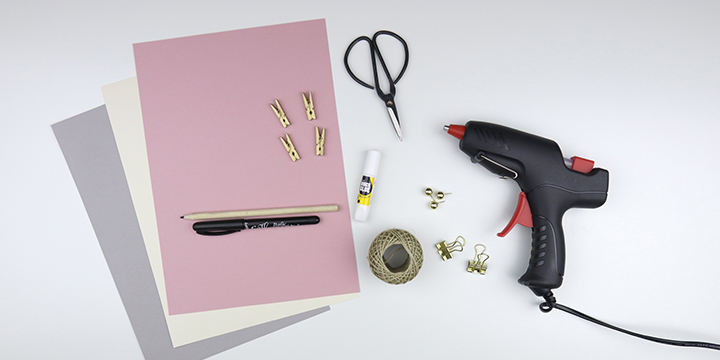
Here’s what you need to create your baby shadow box:
- A frame with a depth of at least 5 cm
(the one we use here is 50 cm × 50 cm with a depth of 5 cm) - Some nice fabric or wallpaper for the background
- Glue gun
- Coloured paper
- Clips, pins, and mini clothes pegs
- Hemp string
- Hole punch
- Pen, ruler, and scissors
Keepsakes you can fill your baby shadow box with:
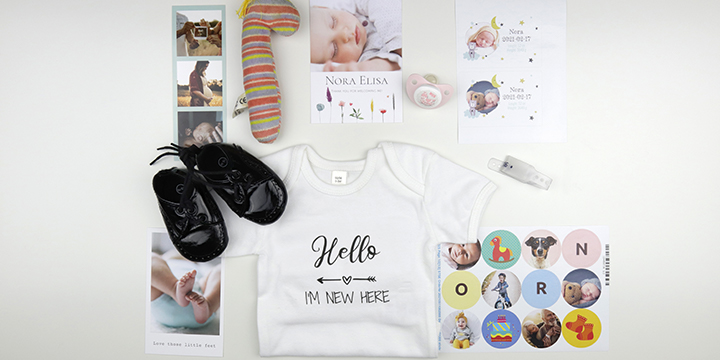
- Ultrasound image – maybe developed on luxury photo paper
- Photo of the baby bump, and the first picture of the baby – for example, a photo strip with three pictures: the ultrasound picture, a photo of the bump, and the first picture of the baby
- Stickers – to show the baby’s birth weight and height
- Name tag – a decorative way to display baby’s name
- Round stickers for attaching the mini pennants (one sticker per letter in the child’s name)
- Baby thank you card, for example, one of these adorable designs
- First baby onesie – did you know you can create your own design at Smartphoto?
- First booties
- Baby’s hospital bracelet
- En pacifier
What to do:
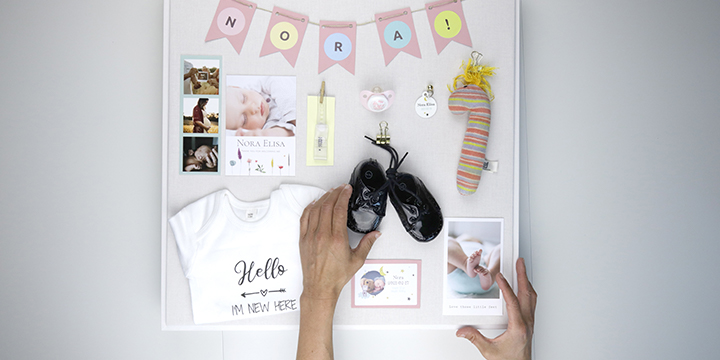
You can start by choosing the background you want for your board. For example, you can dress the back-piece in fabric (we chose a white cotton fabric) or with the wallpaper you have in the children’s room. Then the fun task of creating all the details that make your shadow box unique and beautiful begins!
1. Create some mini bunting with the baby’s name
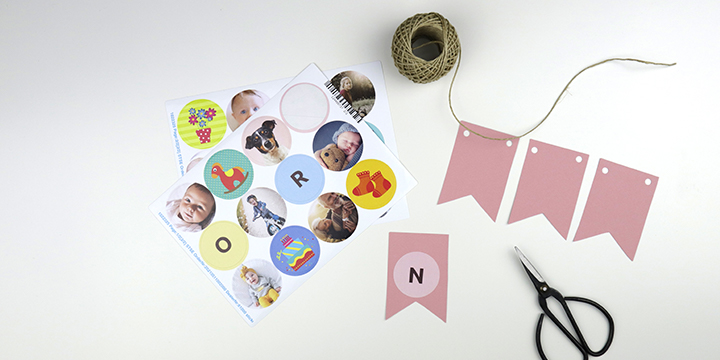
A nice start is to create some mini bunting to use as a title on your board. We used a thick colored paper and then created round stickers with one letter per sticker. It’s even more fun if you create stickers with photos on at the same time. Then, cut out the bunting flags and attach a sticker to each. We used a hole punch to make holes in the paper and then threaded through the hemp string.
2. Print meaningful photos and decorate your box
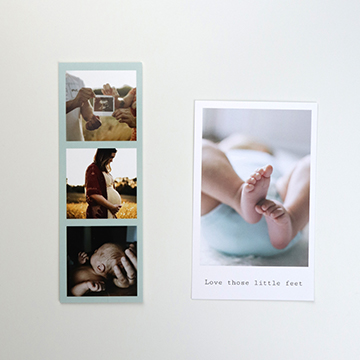
Make sure to fill your shadow box with memories in the form of photographs. There are those images that mean just that little bit more than any other. It could be the all-important ultrasound picture, a picture from a pregnancy photoshoot, or first picture of baby. You can, for example, develop these images as a beautiful photo strip or luxury prints, where you can also add a text below the image.
3. Use the birth announcement that was sent out to friends and relatives
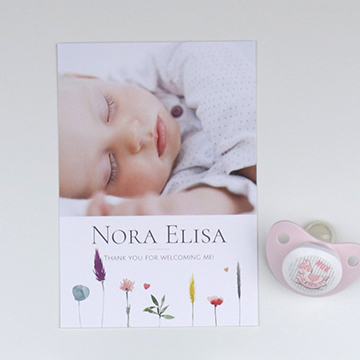
Lots of people send birth announcement to friends and relatives who helped during their pregnancy or were important to the child’s birth. So, be sure to order an extra card and save it as a keepsake. It’ll make a beautiful detail for your shadow box. We chose this lovely design for our card.
4. Write baby’s birth date, weight, and height
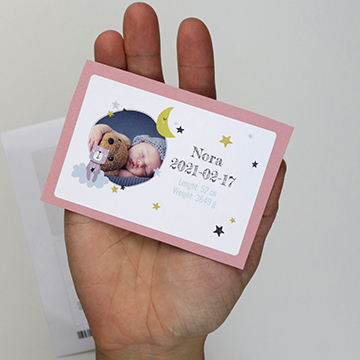
There are many neat ways to include your baby’s date of birth, weight and height in your shadow box, and they’re important details to include! We chose to create labels and you can add your own text and images.
5. Save baby’s first clothes in your shadow box

Including your baby’s first clothes in your shadow box is a great way to remember how small and cute they were. This can easily be made even more personalised by designing your own baby bodysuit. Other clothing souvenirs that will fit in your box are socks, a hat, or baby’s first booties. So cute!
6. Attach the mementos!
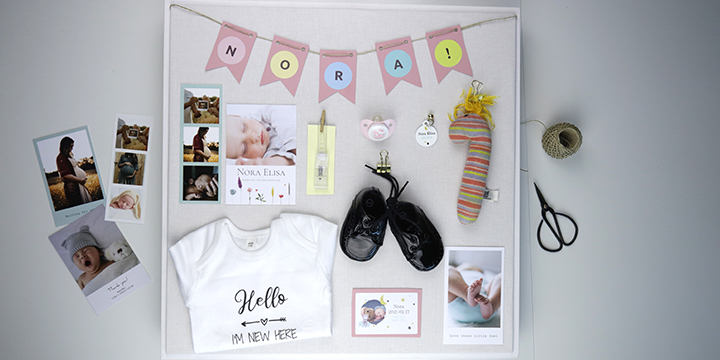
When you have everything you want to include in your box, the fun part begins! Try out different ways to arrange your items on the back-board until you settle on the perfect look!
A good tip to make the box visually appealing is to work with a set colour palette and not to use too many things. Choose the best and most valuable details and put the rest back in the drawer!
We hope this has inspired you to make your own shadow box! Of course, you can make them using other themes, like weddings or memories from when you and your partner first met.
Please share your creations with us!
Want to see more tips for fun and easy crafts? Why not subscribe to our YouTube channel and, of course, the blog.
We would love for you to share what you do with your photos. Feel free to tag us on Instagram @smartphoto.co.uk or use #mysmartphoto.
Happy crafting!
Also read:
Gifts for new-borns – 7 adorable and personal gifts for babies and parents!